This article will show you how to add cameras to your project to control how your video will move around the canvas as it progresses
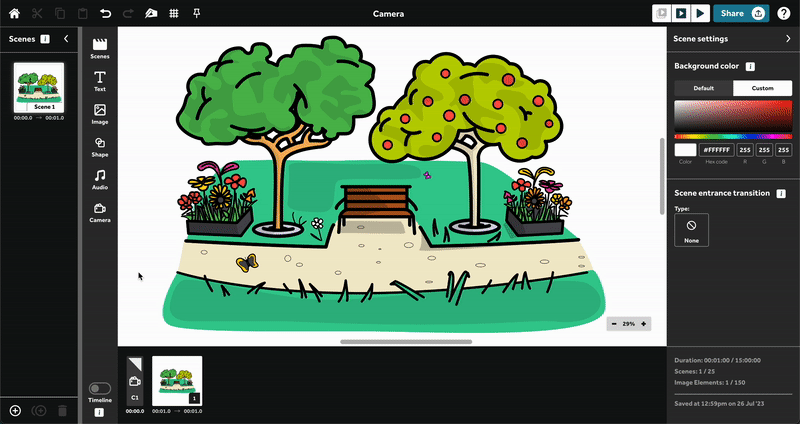
When you start a new project the starting camera (C1) will already be set. The starting camera is the area of the canvas that will be in view at the beginning of your video. You can place your initial elements within this area to start your project.
To extend your project you can then simply move to a new area of canvas, and add a new camera. This is how you can control the movement and layout of your project, and focus on different elements on the canvas throughout your video.
Resizing and positioning the camera
When you select a camera, you can resize the camera on the canvas by selecting the corners and dragging the box to your desired size.
Please note: The aspect ratio of the camera position is locked and cannot be changed. This will be the aspect ratio you selected for your video when you created the project (portrait, landscape, or square).
Drag the bounding box on the canvas to position the camera. You can use the quick zoom option in the bottom right of your canvas to change your zoom levels of the canvas. Alternatively, use the keyboard shortcuts or your mouse wheel to zoom in and out to see more of the canvas. See all available keyboard shortcuts here.

Top tip: Check out this blog post on choosing the right layout for your video.
Adding a camera
Select the ‘Camera’ button from the panel on the left of the editor to add a new camera to your canvas.
- If nothing is selected, the camera will be added to the end of the timeline.
- If a camera is selected, the camera will be added after the selected camera.
- If an element is selected, the camera will be added before the selected element. This element will then appear in this camera view.
There will be a starting camera (C1) in each project at the beginning of the timeline. The starting camera cannot be deleted or moved on the timeline but it can be repositioned and resized on the canvas.
Remember, you can add as many cameras to your canvas as you wish!
Camera settings
When the camera is selected within the timeline, you can edit the camera settings in the right-hand panel.
- Set camera to fit current view
Use this button to reposition the camera to your current view of the canvas. If the camera is already positioned to the current view, the button will be greyed out - Width / Height
Manually input the size (px) of the selected camera - Duration
Set how long the camera movement will take - Pause
Set how long to pause after the camera movement and before the next animation starts
Transform options:
- Lock
Lock the camera to the canvas so it cannot be moved - Pin
Pin the camera to the canvas so it will be visible all the time. There is also a pin icon on the top toolbar to allow you to pin or unpin all of the cameras on the canvas
Top tip: Pinning the camera is useful to help you align and order elements within the camera view. Sometimes you might want to see the other camera positions in order to arrange your elements.
